
The Best Artisan Bread Recipe Airfryer: Crispy Crust, Pillowy Center — No Oven Required
If you’ve ever pulled a warm, golden loaf of bread out of the oven and felt like an absolute kitchen wizard, imagine getting that same feeling from your air fryer in less time, with less fuss.
That’s exactly what this bread recipe airfryer delivers. We’re talking a crackly, artisan-style crust, a soft and airy interior that practically sighs when you pull it apart, and that intoxicating fresh-bread smell filling your kitchen. And the best part? You don’t need a conventional oven, a bread machine, or any fancy equipment.
I’ve tested this recipe more times than I can count — tweaking the hydration, experimenting with temperatures, and figuring out why some loaves came out dense (more on that later). What you’re getting here is the version I’d make again and again.
Why You’ll Love This Bread Recipe Airfryer
Why This Air Fryer Bread Recipe Works
Skip the oven and bake a soft, fluffy loaf with a beautifully golden crust. This beginner-friendly recipe is fast, affordable, and incredibly versatile.
No Oven Needed
This recipe works beautifully in both basket-style and oven-style air fryers, making fresh homemade bread easier than ever.
Beginner-Friendly
Minimal ingredients, simple instructions, and no complicated bread-making techniques. Perfect even if you’ve never baked bread before.
Faster Than Oven Baking
The air fryer circulates hot air efficiently, allowing your bread to bake much faster than a traditional oven.
Artisan-Style Results
Enjoy a beautifully golden crust with a soft, fluffy center— just like bakery-style homemade bread.
Easy to Customize
Turn this basic loaf into garlic herb bread, cheesy bread, cinnamon raisin bread, or your own favorite variation.
Budget-Friendly
All you need are pantry staples like flour, yeast, water, salt, and a few basic ingredients to make bakery-quality bread.
This is one of those air fryer baking recipes that genuinely surprises people. Once you bake bread this way, it’s hard to go back.
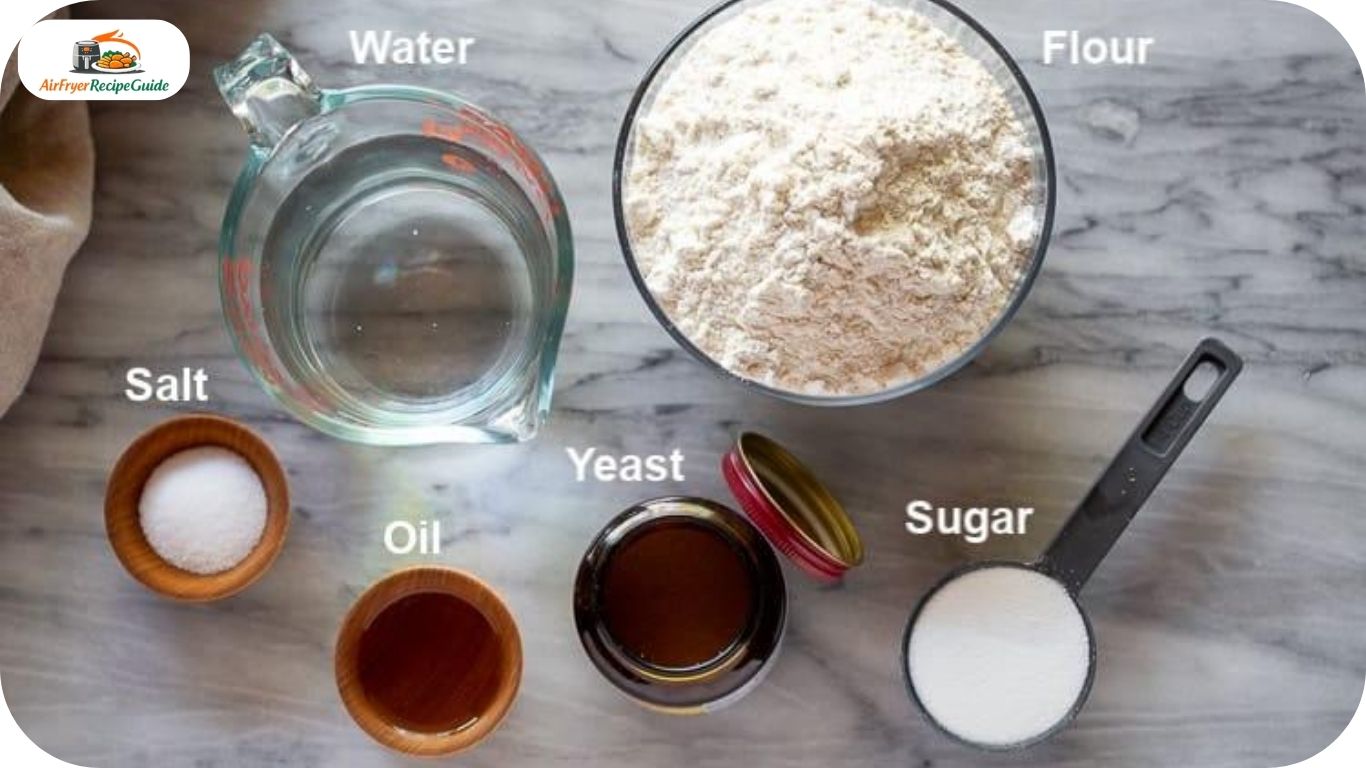
Ingredients – bread recipe airfryer
| Ingredient | Quantity | Purpose |
|---|---|---|
| All-purpose flour | 2 cups (240g) | Structure and body of the loaf |
| Instant yeast | 1 tsp | Leavening — makes the bread rise |
| Warm water (105–110°F) | ¾ cup (180ml) | Activates yeast, hydrates dough |
| Sugar | 1 tsp | Feeds yeast, adds slight sweetness |
| Salt | ¾ tsp | Flavor and gluten development |
| Olive oil | 1 tbsp | Tenderness and a subtle richness |
Makes 1 small loaf — serves 4 to 6 people
Ingredient Notes & Easy Substitutions – bread recipe airfryer
Ingredient Tips & Easy Substitutions
Every ingredient plays an important role in creating soft, fluffy bread with a beautifully golden crust. Here are a few expert tips before you begin.
Flour
All-purpose flour works perfectly for this recipe. Bread flour, with its higher protein content, creates a chewier texture and a crispier artisan-style crust. Avoid cake flour since it’s too soft for bread making.
Yeast
Instant yeast can be mixed directly into the flour. If you’re using active dry yeast, dissolve it in warm water with the sugar for 5–10 minutes until foamy before adding it to the dough.
Water Temperature
Warm water activates the yeast properly. Aim for around 105–110°F (40–43°C). Water that’s too hot can kill the yeast, while cold water slows the rise.
Oil
Olive oil adds subtle flavor and keeps the bread tender. Vegetable oil, canola oil, avocado oil, or melted butter all work well depending on your preference.
Dairy-Free & Vegan
Great news! This bread recipe is naturally dairy-free and vegan, making it perfect for a variety of dietary preferences without changing any ingredients.
Kitchen Tools Needed for bread recipe airfryer
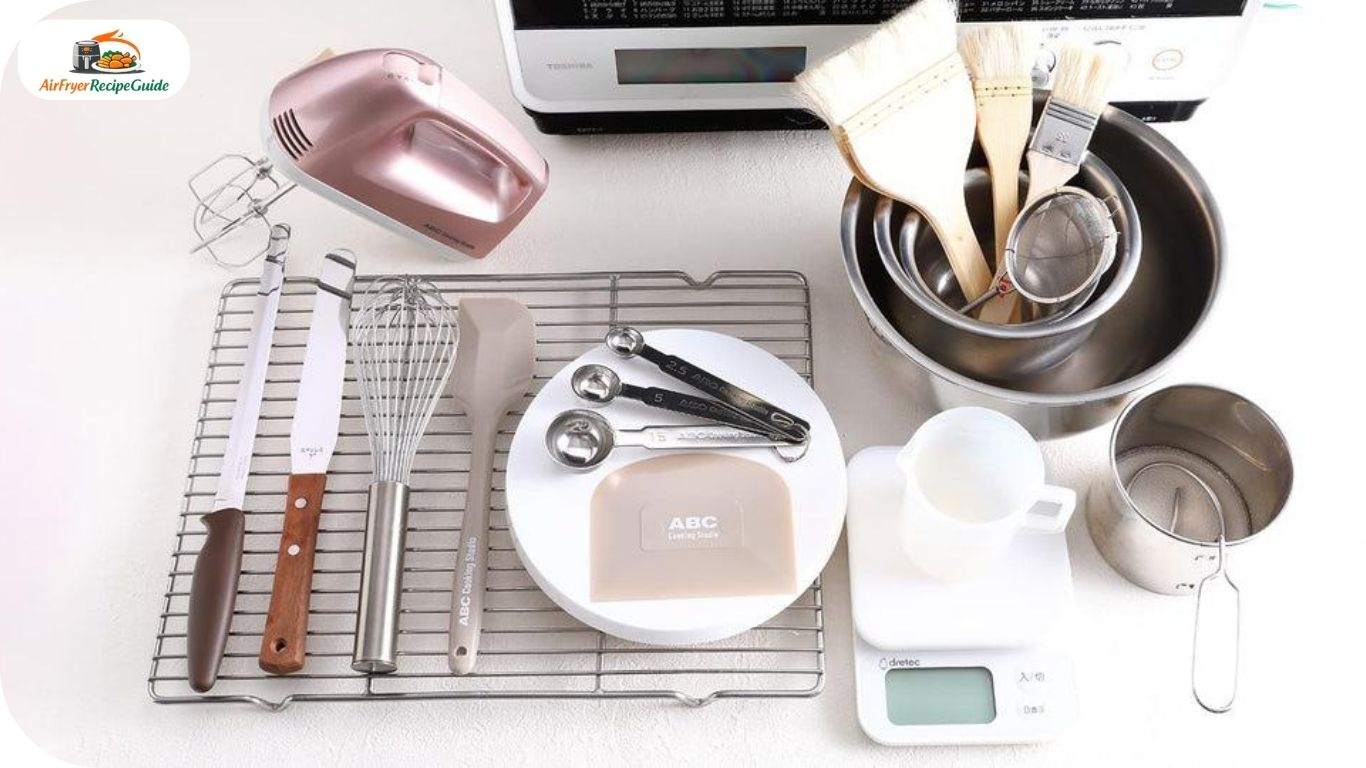
Kitchen Tools You’ll Need
You don’t need fancy equipment to bake delicious homemade bread. These basic kitchen tools will help you create a bakery-style loaf with ease.
Air Fryer
Any basket-style or oven-style air fryer with at least a 3-quart capacity works perfectly for this recipe.
Large Mixing Bowl
Gives your dough enough room for mixing, kneading, and rising without spilling over.
Measuring Cups & Spoons
Accurate ingredient measurements help create soft, fluffy bread with consistent results.
Kitchen Scale
Optional, but highly recommended for measuring flour accurately and achieving bakery-quality consistency.
Oven-Safe Baking Dish
Use a small oven-safe dish or a 6-inch round pan that fits comfortably inside your air fryer basket.
Kitchen Towel or Plastic Wrap
Cover the dough while it rises to prevent it from drying out and to help create a soft texture.
Instant-Read Thermometer
Check that the center of your loaf reaches 190–200°F (88–93°C) for perfectly baked bread.
Wire Cooling Rack
Cooling the bread on a wire rack allows air to circulate, keeping the crust crisp instead of soggy.
How to Make Bread Recipe Airfryer
Step 1: Mix the Dough
In a large bowl, whisk together the flour, instant yeast, salt, and sugar. Make a well in the center, then pour in the warm water and olive oil. Stir until a shaggy dough forms — it’ll look rough and slightly sticky. That’s perfect. Don’t add more flour yet.
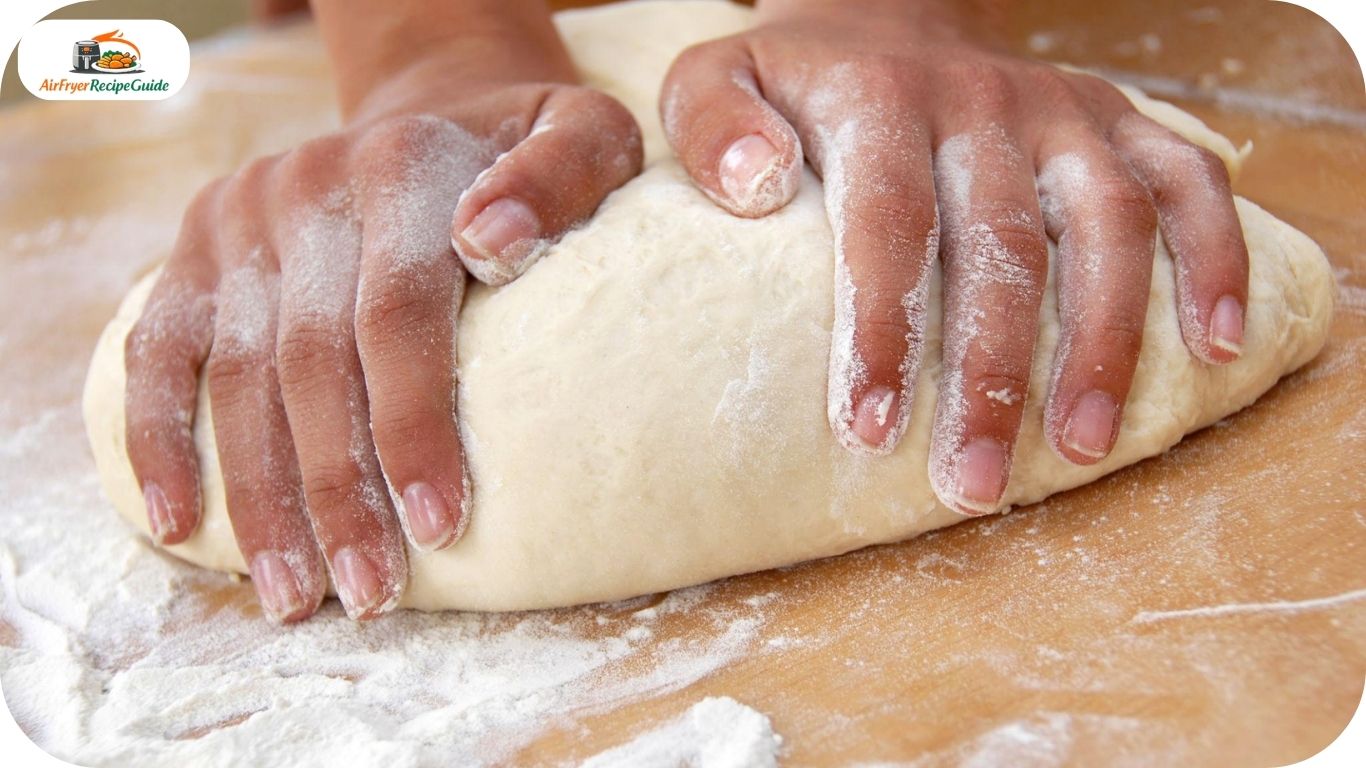
Step 2: Knead the Dough
Turn the dough out onto a lightly floured surface and knead for 8 to 10 minutes until it’s smooth, elastic, and slightly tacky (not sticky). Do the “windowpane test” — stretch a small piece of dough. If it stretches thin without tearing, your gluten is developed and you’re done.
Short on time? You can knead in a stand mixer with a dough hook on medium speed for 5–6 minutes.
Step 3: First Rise
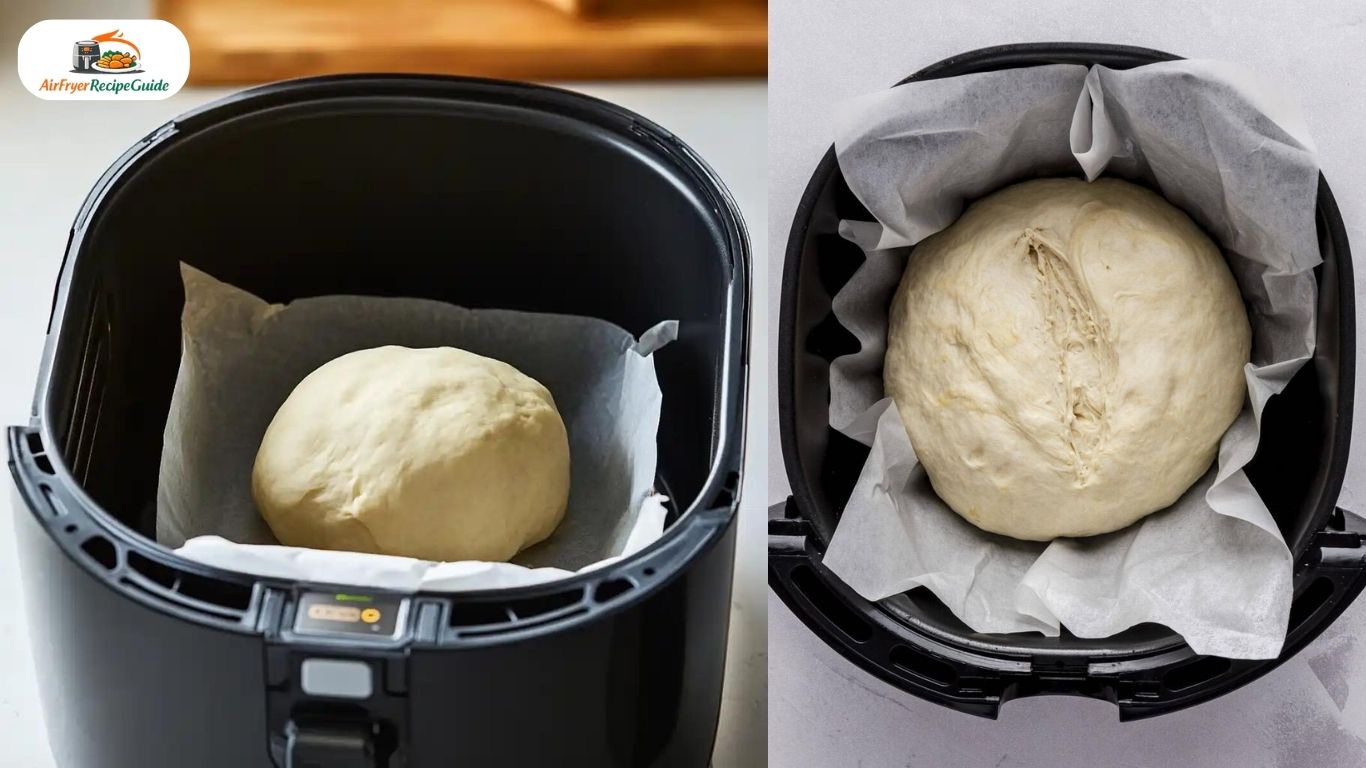
Shape the dough into a ball, place it back in the bowl (lightly oiled), and cover it with a damp kitchen towel or plastic wrap. Let it rise in a warm spot for 60 minutes, or until doubled in size.
No warm spot in your kitchen? Set your air fryer to 90°F for 2 minutes, turn it off, then place the covered bowl inside with the basket pulled out slightly. The residual warmth creates a perfect proofing environment.
Step 4: Shape the Loaf
Punch down the risen dough gently to release the gas. Shape it into a round ball (boule) or a short oval that fits your pan. Pinch the seam closed on the bottom.
Place it seam-side down into a lightly oiled 6-inch round cake pan or oven-safe dish that fits in your air fryer.
Step 5: Second Rise
Cover loosely and let the shaped loaf rise for another 30 minutes. It should puff up noticeably but won’t fully double. You’re looking for it to look pillowy and soft.
Step 6: Preheat the Air Fryer
Preheat your air fryer to 320°F (160°C) for 3 minutes. Preheating matters — it creates that initial burst of heat that helps the bread spring up in the first few minutes of baking (bakers call this “oven spring”).
Optional: Score the top of your loaf with a sharp knife or bread lame. A single slash down the center is classic and helps the bread expand without cracking randomly.
Step 7: Bake Until Golden Brown
Place the pan carefully in the air fryer basket. Bake at 320°F for 18–22 minutes.
Doneness cues:
- Visual: Deep golden brown top with a firm, set crust
- Sound: Tap the bottom of the loaf — it should sound hollow
- Temperature: Internal temperature should read 190–200°F (88–93°C) on an instant-read thermometer — this is the most reliable test
If the top is browning too fast before the interior is cooked, loosely tent a piece of aluminum foil over it and continue baking.
Step 8: Cool Before Slicing
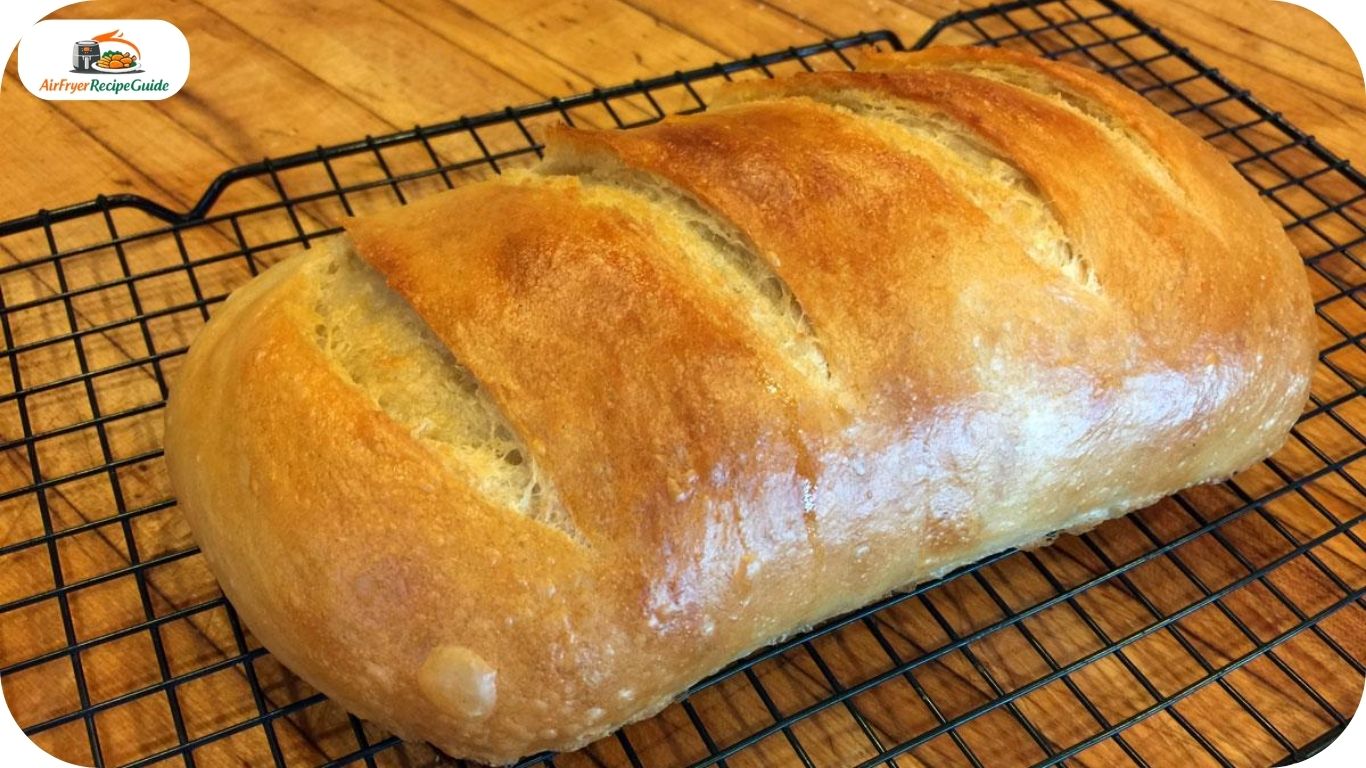
This is the hardest part: let it cool on a wire rack for at least 20 minutes before slicing. I know. It smells incredible. But cutting into hot bread releases all the steam that’s still cooking the inside, leaving you with a gummy, doughy crumb. The wait is worth it.
Expert Tips for Soft Bread and Crispy Crust
Pro Tips for Perfect Air Fryer Bread Every Time
These professional baking tips will help you achieve a bakery-quality loaf with a crispy crust, chewy crumb, and incredible homemade flavor.
Use Bread Flour for Extra Chew
Bread flour contains more protein than all-purpose flour, creating stronger gluten development for a chewier texture and a crisp, artisan-style crust.
Don’t Rush the Rise
A slow rise develops better flavor. If time allows, refrigerate the dough overnight during the first rise for a deeper, more complex taste.
Add Steam for a Better Crust
Place a small oven-safe ramekin filled with hot water inside the air fryer during the first 10 minutes of baking. Steam helps the bread rise higher before the crust hardens.
Oil the Pan Instead of Flouring
Lightly oil your baking pan instead of dusting it with flour. This helps create a crisp bottom crust and reduces sticking.
Use the Lower Rack
If you have an oven-style air fryer, bake on the lower rack. This prevents the top heating element from browning the crust too quickly before the inside finishes baking.
Common Mistakes to Avoid while bread recipe airfryer
Common Air Fryer Bread Mistakes to Avoid
Even simple bread recipes can go wrong if you skip a few important steps. Avoid these common mistakes to bake soft, fluffy bread with a perfectly golden crust every single time.
Using Water That’s Too Hot or Too Cold
Water temperature is critical for activating yeast. Water that’s too hot can kill the yeast, while cold water slows fermentation. Always use a thermometer instead of guessing.
Skipping the Second Rise
The second proof allows gluten to relax after shaping, producing a loaf that’s lighter, taller, and more evenly baked.
Opening the Air Fryer Too Often
Every time you open the basket, heat escapes and interrupts the baking process. Trust the timer and check only near the end of baking.
Cutting the Bread Too Soon
Fresh bread needs time to cool so the crumb can fully set. Slicing immediately releases steam and creates a gummy texture.
Overcrowding the Basket
Bread needs hot air circulating on every side. If the pan sits too close to the basket walls, the crust won’t brown evenly.
Bread Variations – bread recipe airfryer
Once you’ve nailed the base recipe, these variations come together quickly:
5 Delicious Ways to Customize This Air Fryer Bread
Once you’ve mastered the basic loaf, try these easy variations to create savory, cheesy, wholesome, or sweet homemade bread for every occasion.
Garlic Herb Bread
Mix 2 minced garlic cloves, 1 tsp dried rosemary, and 1 tsp dried thyme into the dough. Before baking, brush the loaf with garlic butter for an irresistible golden finish.
Cheese Bread
Fold ¾ cup shredded cheddar or Gruyère into the dough after kneading. Sprinkle extra cheese on top before baking for a crispy, bubbly cheese crust.
Whole Wheat Bread
Replace half of the all-purpose flour with whole wheat flour. Add 1–2 tablespoons of extra water since whole wheat absorbs more moisture during mixing.
No-Knead Bread
Mix the ingredients, cover, and refrigerate for 12–18 hours. Shape the dough, let it rise for 30 minutes at room temperature, then bake as usual.
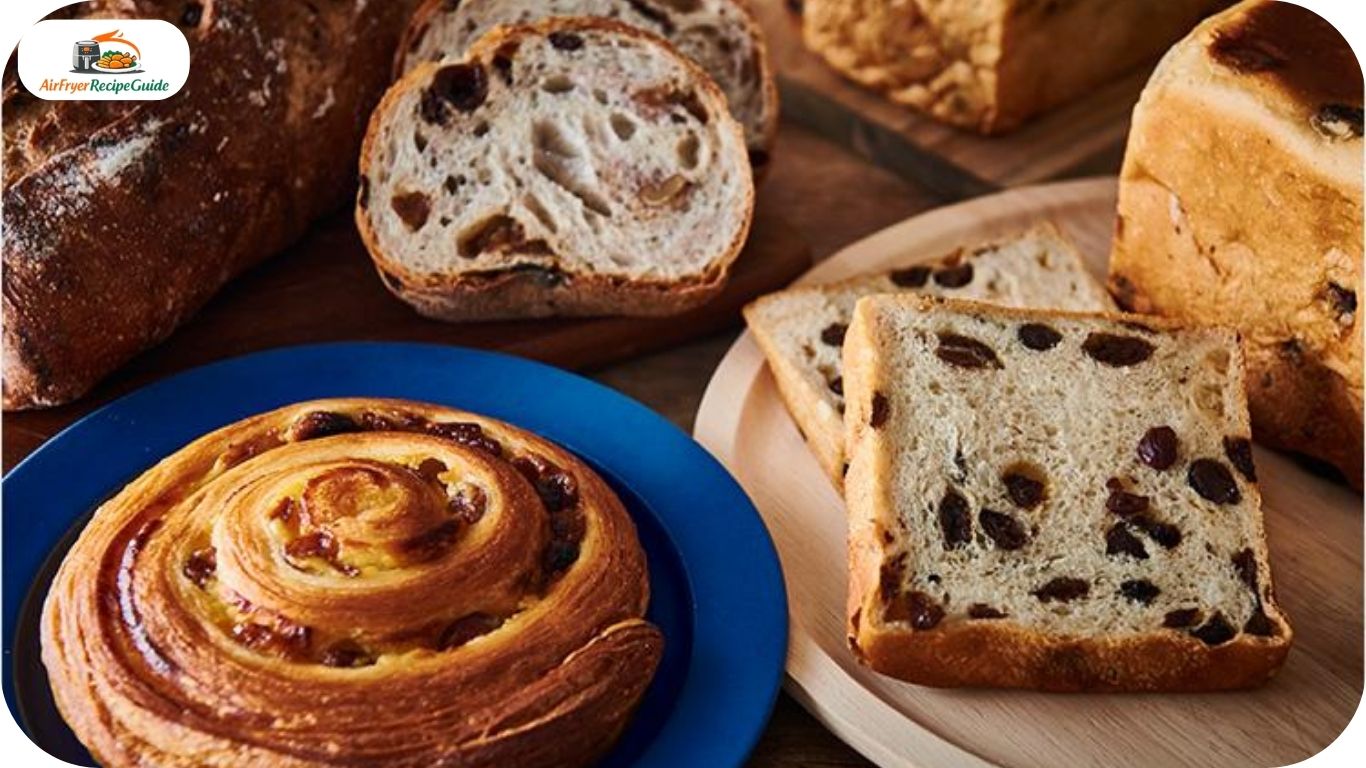
Cinnamon Raisin Bread
Add 1 tsp cinnamon and ½ cup soaked raisins to the dough. Swirl in brown sugar and butter before the second rise for a bakery-style sweet loaf.
What to Serve With Homemade Bread recipe
What to Serve with Air Fryer Bread
Fresh homemade bread pairs beautifully with everything from comforting soups to hearty sandwiches. Here are some of our favorite serving ideas.
Soup
Pair your bread with tomato bisque, creamy potato soup, or French onion soup. Every slice is perfect for soaking up the rich, flavorful broth.
Pasta
Garlic herb bread served alongside spaghetti, fettuccine, lasagna, or creamy Alfredo makes a classic restaurant-style meal.
Butter
Spread real salted butter over a warm slice and enjoy the simple, rich flavor of freshly baked homemade bread.
Jam & Preserves
Strawberry, raspberry, apricot, or fig jam transforms fresh bread into an easy breakfast or delicious afternoon snack.
Sandwiches
Slice your loaf thick and build incredible BLTs, grilled cheese, turkey clubs, chicken sandwiches, or gourmet deli-style creations.
Storage & Reheating Tips – bread recipe airfryer
Room temperature: Wrap the cooled loaf in a clean kitchen towel or store in a paper bag. Keeps well for 2 days. Avoid plastic bags — they trap moisture and soften the crust.
Refrigerator: Bread stales faster in the fridge due to retrogradation (the starch crystallizing). Only refrigerate if you live somewhere very humid.
Freezer: Slice the entire loaf before freezing. Store slices in a zip-lock freezer bag for up to 3 months. Pull out individual slices and toast them straight from frozen — they taste nearly fresh-baked.
Reheating: Wrap in foil and air fry at 300°F for 4–5 minutes to bring it back to life. A single slice goes straight in the toaster.
Nutrition Information – bread recipe airfryer
Per serving (1 slice, approx. 1/6 of loaf)
| Calories | ~165 kcal |
| Carbohydrates | 30g |
| Protein | 5g |
| Fat | 3g |
| Fiber | 1g |
| Sodium | 290mg |
Values are estimates. Actual nutrition depends on exact ingredient brands and slice size.
Frequently Asked Questions – bread recipe airfryer
Can you bake bread in an air fryer?
Absolutely — and it works better than most people expect. An air fryer circulates hot air rapidly around the food, which mimics the convection function of a conventional oven. This helps bread develop a genuinely crispy crust while cooking the interior evenly. The results are especially good with small loaves and rolls.
How long does bread take in an air fryer?
For a small loaf (using about 2 cups of flour), baking time is typically 18 to 22 minutes at 320°F. Rolls take less — around 10–13 minutes. Always check with an instant-read thermometer; the interior should reach 190–200°F when done.
Why didn’t my bread rise?
The most common cause is inactive yeast. This happens when the water was too hot (kills yeast), too cold (won’t activate it), or when the yeast was old and expired. Always check your yeast expiration date and use a thermometer for water temperature. Also make sure your rising environment isn’t too cold — yeast needs warmth to work.
Can I use self-rising flour?
Self-rising flour contains baking powder and salt, not yeast. If you use it, you’ll get a quick bread (like a biscuit-style loaf) rather than a yeast-risen artisan bread. The texture will be quite different — denser and more crumbly. For this specific recipe, stick with all-purpose or bread flour.
What temperature is best for bread in an air fryer?
320°F (160°C) is the sweet spot for a small loaf. Higher temperatures brown the crust too quickly before the center is cooked through. If your air fryer runs hot (many do), start checking at the 16-minute mark. Oven-style air fryers may need an extra 3–5 minutes compared to basket models.
Can I freeze homemade bread?
Yes — and it freezes beautifully. Slice the entire cooled loaf before freezing so you can grab individual slices as needed. Store in a zip-lock freezer bag with the air pressed out. Frozen slices can go straight into the toaster without thawing. For best quality, use within 3 months.
Conclusion:
There’s something genuinely satisfying about baking your own bread — and this bread recipe airfryer method makes it more accessible than it’s ever been. No giant oven to heat up, no specialized bread-baking equipment, and no hour-long bake times. Just real, from-scratch bread with a crackly crust and a soft, chewy interior, ready in under two hours.
Whether you’re a complete beginner or someone who’s been baking for years, give this one a try. Start with the base recipe, get comfortable with how the dough should feel, and then experiment with the variations. Once you’ve tasted your own homemade loaf fresh out of the air fryer, store-bought bread will never quite cut it again.
Recipe Disclaimer
This Bread Recipe Airfryer has been carefully developed and tested using a standard basket-style air fryer. Cooking times, temperatures, and results may vary depending on your air fryer model, wattage, altitude, ingredient brands, and loaf size.
Always check that your bread reaches an internal temperature of 190–200°F (88–93°C) before removing it from the air fryer. Nutritional information is provided as an estimate only and should not be considered medical or dietary advice.
If you have food allergies, gluten intolerance, or other dietary restrictions, carefully read ingredient labels and consult a qualified healthcare professional before preparing this recipe.
References
- USDA FoodData Central – Ingredient nutrition reference.
- King Arthur Baking – Bread baking techniques, yeast handling, and dough development.
- Red Star Yeast – Yeast activation, proofing, and fermentation guidelines.
- Instant-read thermometer recommendations based on standard bread baking practices (190–200°F internal temperature).
- Author’s recipe testing using multiple basket-style and oven-style air fryers.
Last Update: 25 June 2026